Spring Cleaning Guide for Your RV - Exterior Maintenance
As you prepare your RV for the spring season, don't overlook the importance of exterior maintenance. Here's a comprehensive guide to help you tackle this essential task:
-
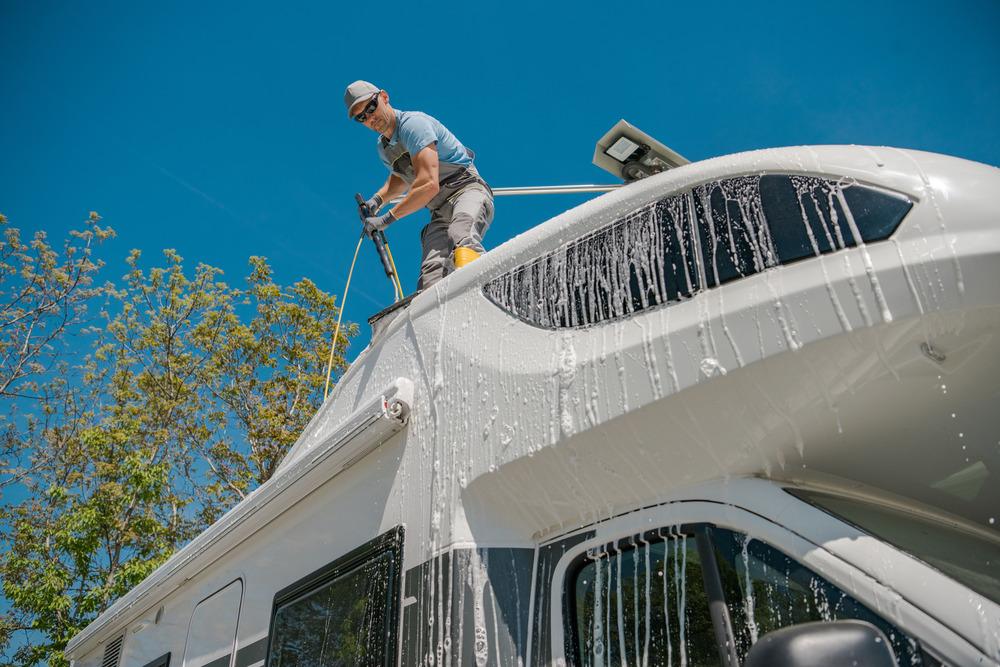
Wash and Wax: Start by giving your RV a thorough wash to remove dirt, grime, and road salt accumulated during winter. Use a gentle cleanser designed for RVs and follow up with a wax to protect the exterior from UV rays and environmental damage.
-
Inspect Roof and Seals: Check the roof for any signs of damage, such as cracks, tears, or loose seals. Repair any issues promptly to prevent leaks. Inspect and reseal roof vents, skylights, and antennas as needed.
-
Clean Awnings: Extend and clean your awnings thoroughly to remove debris and mold. Allow them to dry completely before retracting. Inspect awning fabric for tears or weak spots and repair or replace as necessary.


-
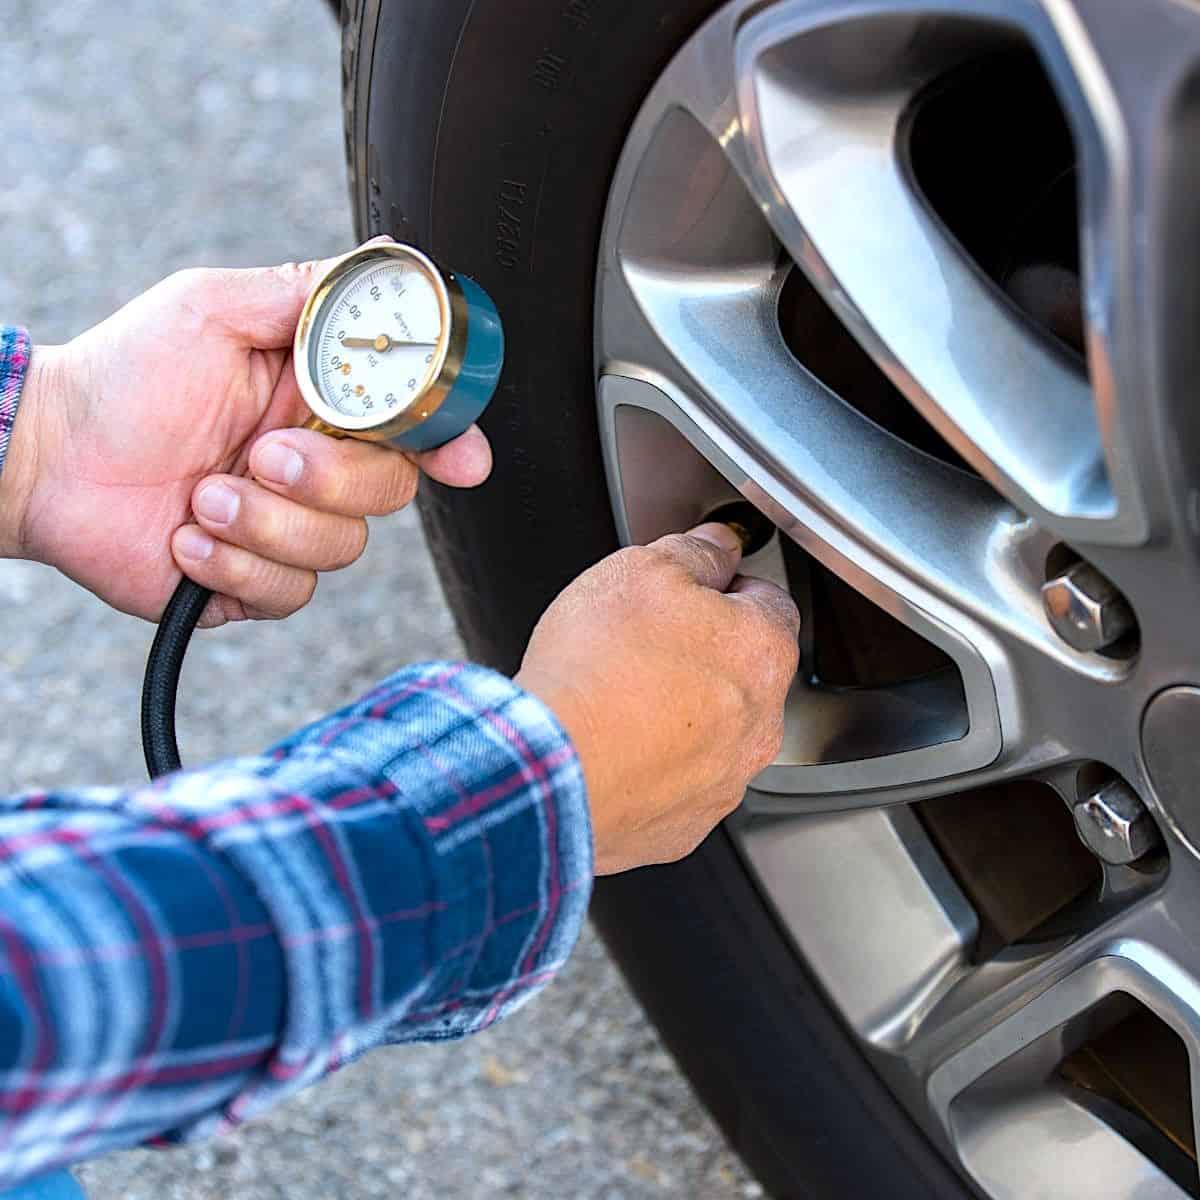
Check Tire Pressure and Condition: Inspect tire tread depth and sidewalls for signs of wear or damage. Inflate tires to the recommended pressure. Consider rotating tires if needed and replace any worn-out tires before hitting the road.
-
Inspect Lights and Signals: Test all exterior lights and signals, including headlights, brake lights, turn signals, and marker lights. Replace any burnt-out bulbs and clean lenses for optimal visibility.
-
Clean and Lubricate Slide-Out Mechanisms: If your RV has slide-outs, clean and lubricate the slide-out mechanisms using a manufacturer-recommended lubricant. This helps prevent rust and ensures smooth operation.
-
Inspect Exterior Seams and Joints: Check all exterior seams and joints for signs of deterioration or gaps. Use a sealant to fill in any cracks or openings to prevent water infiltration.
By following this exterior maintenance guide, you'll ensure that your RV is ready to hit the road safely and in top condition for the spring season. Stay tuned for more spring cleaning tips on our social media platforms.
